
I'm back with another fermented vegetable! This time, it's a simple sourkraut. I wrote recently about my
kimchi experiment, plus all the health benefits associated with fermentation. This time, I'm keeping it simple with a classic kraut. I've been on a fermenting kick lately, even making my own kombucha regularly, which is totally awesome (and will be a whole other blog post soon).
I've been so interested in making all things fermented that I actually took a class last week from an expert, the founder of
Firefly Kitchens, Richard Climenhage.
Firefly Kitchens is a small company based in Seattle that specializes in making authentic, traditionally fermented vegetables. Their products are sold at farmers markets and local co-ops both in Seattle and Portland. Everything they make is made with local produce and is incredibly delicious and super good for you. Right up my alley!

I've said it before and I'll say it again (and I'll probably say it
again at some point...) that fermented foods, especially fermented
vegetables, are one of the most important things that you can put in
your body. The probiotics in these foods are better than any pill you
can take and they will boost your health and digestion tremendously.
Eating a bit of sourkraut, kimchi, or other fermented vegetable with
every meal will drastically improve digestion and assimilation of nutrients in the body. And if you don't want to make your own sourkraut or kimchi just yet, luckily there are plenty of
great local companies like Firefly Kitchens to make some for you. Just
be sure you're getting these fermented foods in a health food store in
the refrigerated section and that they are unpasteurized and raw.
Making sourkraut is possibly one of the easiest fermenting projects to undertake, besides
pickles. The following recipe is the one that I've used in the past with a little adjustment based on what I learned from the class. Feel free to adapt the recipe by using purple cabbage, shredded carrots, beets, or any other vegetable. You can even add some caraway seeds to this classic kraut to give it that extra authentic flavor. Have fun with it!
Classic Sourkraut (from Firefly Kitchens)
Ingredients:
1 head of cabbage (3 quarts shredded)
1 1/2 tsp unrefined sea salt (Celtic sea salt, Pink Himalayan, etc...)
Equipment:
1 quart mason jar
large bowl
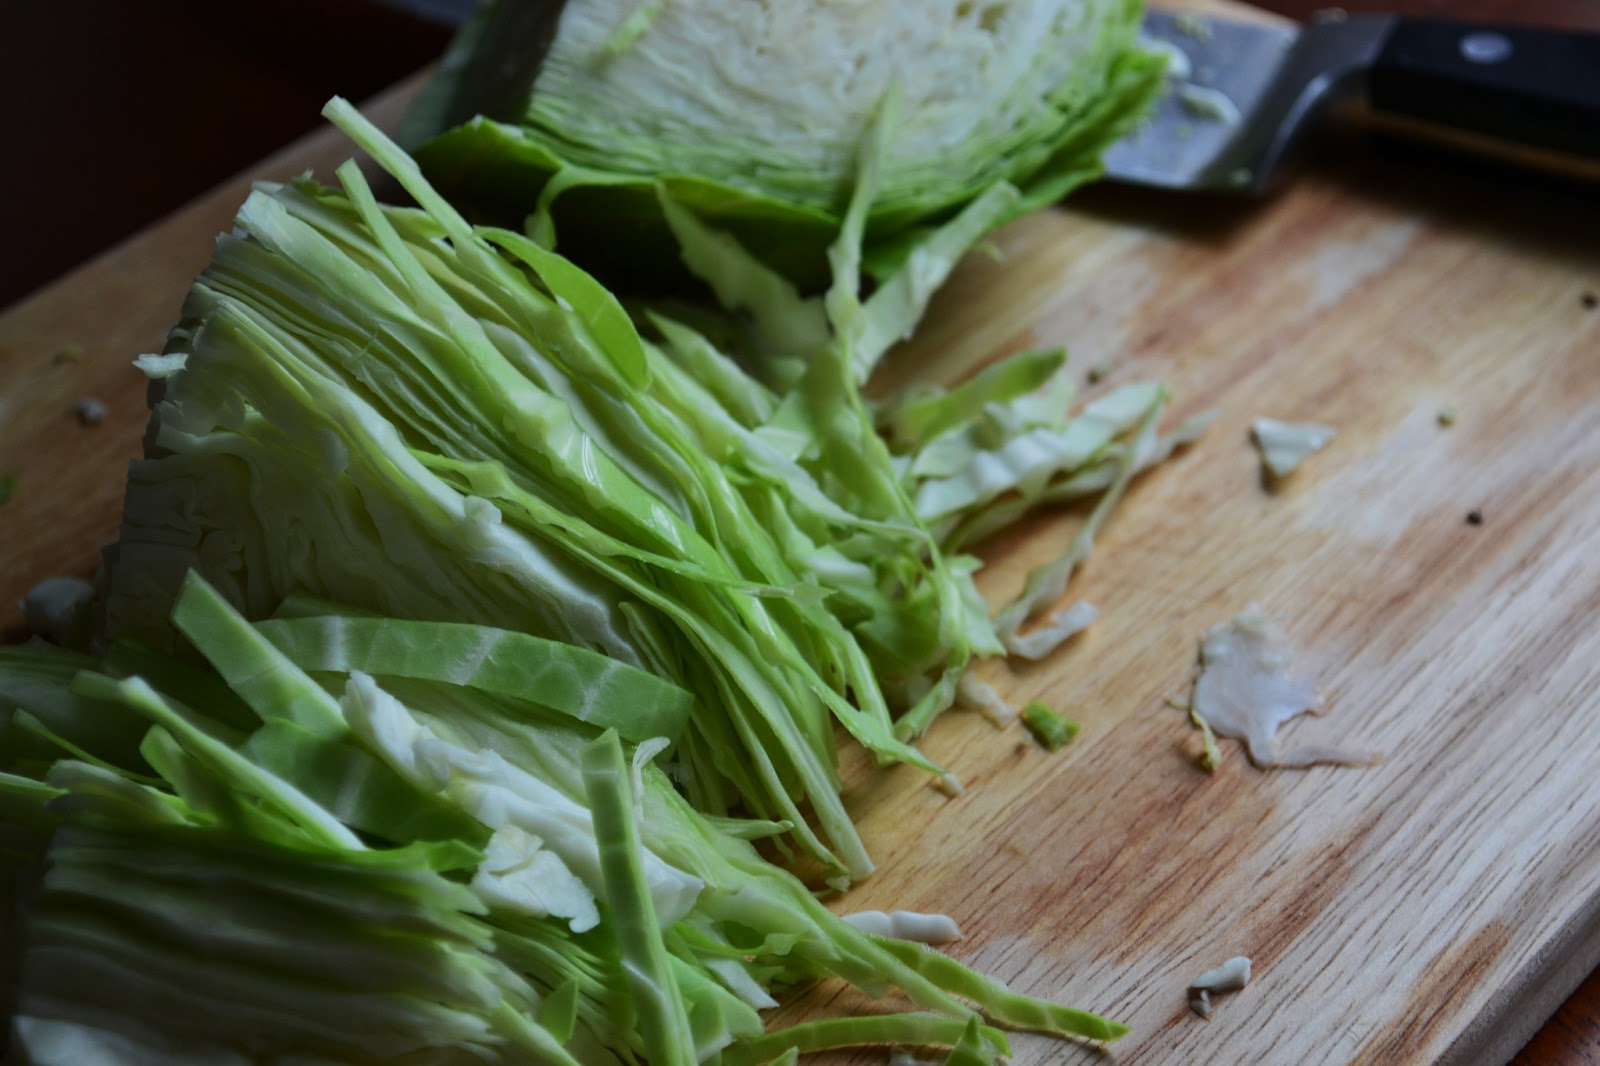
1. Peel off any old, discolored cabbage leaves. Cut cabbage into quarters and thinly slice into long strips.
2. Place half of the sliced cabbage into a large bowl and add half of the salt. With your clean hands, massage the cabbage until it starts to release water. Add the rest of the sliced cabbage to the bowl with the rest of the salt and massage some more until the cabbage has collapsed a bit and when you squeeze it, water is released.
3. Put the cabbage into the mason jar and push down hard until the cabbage liquid (brine) rises above the compressed mixture. If there is not enough liquid to do this, make a salt water brine of 1 teaspoon salt dissolved into 1 pint of water. Add this brine to the jar until the cabbage is fully submerged.
4. Close lid tightly and allow to sit at room temperature for a least one week and up to six weeks for maximum flavor.
Notes:
-Keep the jar on a plate, as some brine may leak out if it gets high.
-If the brine level goes below the cabbage, add more salt water brine solution.
-Give at least one inch of space at the top of the jar to allow for expansion of gassing from the fermentation.
For more fabulous food and photos from Nourish The Roots,


Renée - Speaking as a frequent and long-time maker of KimChee, Kombucha and all things fermented, your recipe is a good one. There is one more step that I recommend. After killing the bacteria with salt, it is possible to rinse the cabbage (and other vegetables to be fermented). In my experience, even after rinsing, the residual salt absorbed by the vegetables (I typically brine them in a strong salt solution for 24-48 hours before rinsing and starting fermentation) will keep harmful bacteria at bay, and the resulting product is much lower in sodium.
ReplyDeleteHi Ned, thanks for commenting! I've heard of the rinsing method, and I decided against it here because I wanted to get it fermenting right away. And I added less salt than I have in the past, so I wasn't too worried about the salt content. But I'm up for trying it if this batch isn't to my liking! Thanks again and happy fermenting :)
DeleteName of the recipe is really difficult for me. Even i cannot pronounciate it i suggest you guys to come and join me but before best essay writing services reviews joining me you have to you read everything which is mentioned on the page it could be shared perfectly.
ReplyDeleteThere are many points of view, but yours is the most valid. You have impressive writing skills. Due to the way it was written, the content was high-quality and very engaging for a beginner. You can view the profile I wrote for more information about the BPM test. After researching extensively, this is the latest profile I have written. I invite you to visit the Beats Per Minute Test profile and share your thoughts.
ReplyDelete